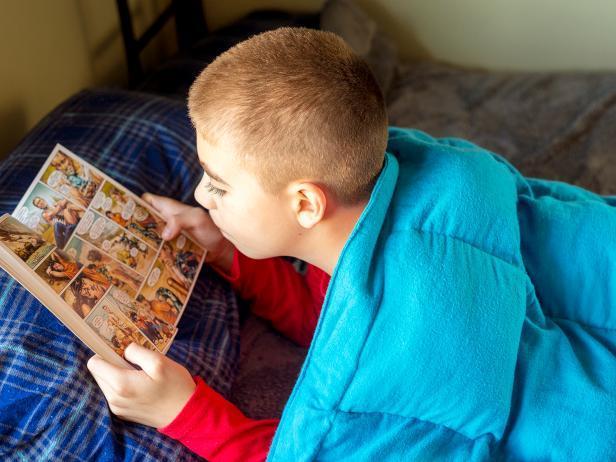
Sizes range from small to large, but they all have a special filling that makes them significantly heavier than a regular blanket. Many people, especially those with special needs, who have difficulty falling asleep find comfort in these. As though you were being held in a hug, the weight might be reassuring. Sensory-processing disorder patients and insomniacs are both common users of these devices. A weighted filler and a soft fabric can be used to build your own inexpensive weighted blanket. Simple straight lines are all you need to sew this blanket, but you’ll want to leave it to an intermediate sewer because the weighing is more complicated.
Why DIY?
When it comes to weighted blankets, there are numerous advantages, but they all stem from Deep Touch Pressure (DTP). The neurological system of the body has a number of Deep Touch Pressure points all over it that can tell the brain when it’s time to settle down by sending messages to the brain. The neurological system is stimulated by even the lightest of touches. Having a relaxing effect on the body encourages the creation of serotonin, which in turn promotes better sleep and an overall sensation of peace.
Using a weighted blanket can help alleviate sleep disorders, such as restless leg syndrome, anxiety, autism, and ADHD.
Making your own weighted blanket at home is a great way to get to know the product better while saving money at the same time.
You are reading: How To Make Weighted Blanket
What are Weighted Blankets?
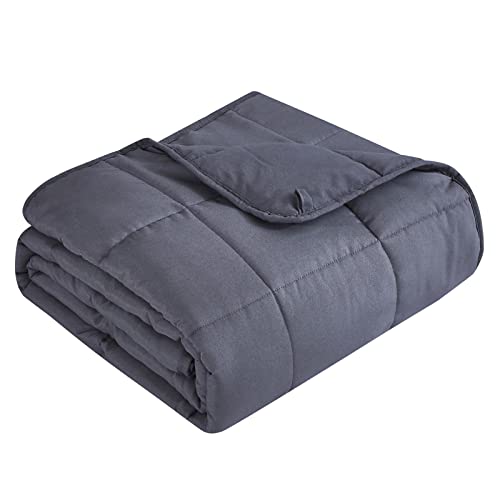
When it comes to weighted blankets, they are precisely what their name implies. Tiny, weighted objects sewed into the lining of a good weighted blanket ensure an even distribution of weight.
Glass beads and steel shot beads are two of the most prevalent fillers in weighted blankets. Another alternative is to use grains such as rice or beans, or even dry foods such as pastries. The filler is stitched into pockets throughout the blanket so that the weight is equally distributed.


How to Make a Weighted Blanket – DIY Style?
With the correct supplies and a little time, anyone can construct their own weighted blanket by following the instructions outlined below.
A weighted blanket can be used to cure insomnia caused by one or more of the above-mentioned conditions, but identifying what materials are needed and how big the blanket has to be is the next step in the process.
The first step is to think about the person who will be using the blanket and plan the measurements properly.
We advise against constructing a blanket to fit a bed. Using an 8-year-old child with autism, for example, who sleeps in a twin-sized bed, does not necessitate the purchase of a twin-sized weighted blanket.
“Chin to heel” is an useful rule of thumb when determining the size of a blanket. In addition to being a waste of resources, excess blanket hanging off the sides of the bed can cause weight to be pulled away from the body and make it difficult to adjust during the night, particularly for youngsters.
Chin to heel is a good size for a blanket when you’re having trouble sleeping. As a result, the weighted blanket’s Deep Touch Pressure points are not covered up by the blanket’s cover.
Other problems, such as ADHD or Restless Leg Syndrome, may simply necessitate a blanket that covers only the upper or lower half of the body, respectively. Divide the length from the chin to the heel by two for these smaller blankets. If you’re looking for a blanket that’s just big enough to drape over your shoulders or your legs, this is the one for you.

Weight Guidelines
Weight is the next consideration after deciding the length. To get an idea of how much food you should be eating, a reasonable rule of thumb is 10% of your body weight plus one or two pounds.
Read more : The Best Temperature for Sleep: Advice & Tips
As a reminder, this is merely a guideline and the weight’s efficiency will vary based on the individual’s needs. ” A weighted blanket’s primary purpose is to promote a sense of calm and relaxation, and if a person isn’t comfortable, the blanket will be ineffective.
Pressure, not only touch, should be considered when determining how an individual responds. Ten percent of one’s body weight plus one or two pounds may be a decent starting point for those who find compression clothes relaxing or use their arms to self-soothe in overstimulating settings.
Selecting Weighted Blanket Materials
Weighted blankets can be made from a wide variety of materials. When looking for the best fabric and filler for a new blanket, any craft or fabric store will have a decent selection of things to look through.
When using weighted blankets for sensory sensitivities linked to autism, it is critical to select the right fabric. Using a fleece weighted blanket to relax someone who is sensitive to the material is a waste of time and energy.
Warm, flannel material may not be the ideal choice for those who are easily overheated and prefer sleeping in a cooler atmosphere It is always possible to customize a product to meet the needs and preferences of the user in a DIY project.
Learn about the best cooling blankets for all-season happiness by reading our guide.
Plastic Poly Pellets and Other Fillers
There are a few things to consider while selecting the correct filler.
Weight per unit and price per unit are the first things to look at. There are several advantages to using organic materials such as rice or beans, but they are also substantially lighter, which means that greater volume is required to achieve the desired weight.
Consider how long the product will last as well. Fillers such as beans, rice, and grains are inexpensive, but they don’t hold up as long as other options. When they come into contact with water, these goods will expand. They are susceptible to mold, mildew, and insects, and can lose their shape.
Steel or glass beads, which can be washed and will last a lifetime, are a good option for long-term durability.
How to Sew a Weighted Blanket
It’s time to begin manufacturing the weighted blanket once the dimensions, weight and materials have been decided. Before measuring or cutting the cloth, wash and dry it thoroughly.
Even if the cloth is washable, an accurate measurement cannot be done before laundering since it will pull up.
What You’ll Need
Equipment / Tools
- A kitchen scale
- Scissors
- Ruler
- Use your preferred marking tool, such as tailor’s chalk.
- Pins
- Machine for sewing
Materials
- Wear-resistant material for both the front and back
- Beads of plastic filler (so the blanket is washable)
- Exceptional thread
Instructions
Determine Your Blanket Size and Weight
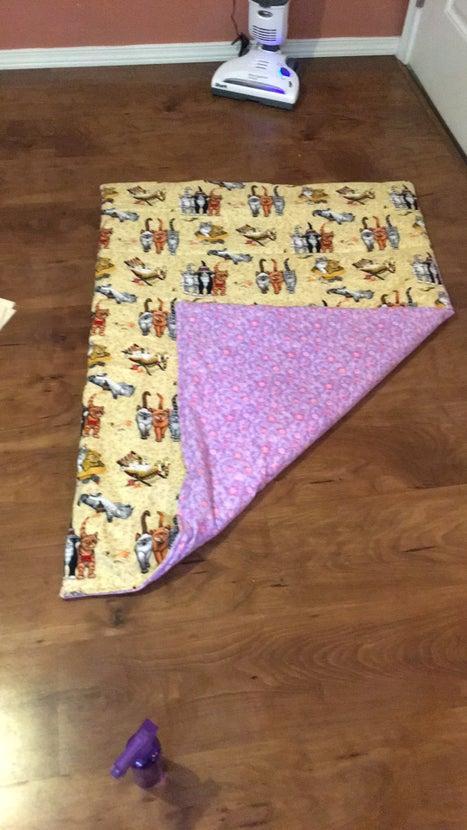
Unlike a quilt or comforter, a weighted blanket does not have to be enormous. Only the person using it needs to be protected. The weighted filler will be sewn into the cloth squares. Between three and five square inches can be used. This means that the overall fabric dimensions should be a multiple of your square size, plus 4 inches for the edges. For example, the blanket shown in the photographs contains squares of 3 square inches. Three and a half feet broad (3×11+4=37) and six feet tall (3×19+14)
Weighted blankets should be no more than 10% of a person’s body weight in order to be effective. An occupational therapist can assist you in determining the ideal weight for a weighted blanket made for a specific purpose. Use ounces instead of pounds once you’ve calculated the total weight required. Multiply the answer by the blanket’s square count. Each square should have this much weight. Each of the 209 squares in the blanket has around 1 ounce of plastic filler beads.
Sew the Front and Back Together
The fabric’s edges should be marked at a distance of two inches apart. In the next step, draw a grid of squares that correspond to the dimensions you selected. Checkered fabric was used in this example blanket to mark it.)
Read more : How To Get Rid Of Dark Circles? What is it, Causes, and Treatment
Right sides together, with a 3/8-inch seam allowance, sew the front and back pieces together. Sew the long and short sides together. Keep the top open.
Open the blanket’s seams by flipping it over and turning it right side out. Topstitch 1/4 inch from the edge, starting and ending close to the open side. To begin sewing, begin at the open end and sew along the specified lines that were 2 inches from the fabric edge. It is time to sew the long sides and bottom. At the beginning and end, backstitch. The grid of weighted squares will be enclosed within this inner topstitching.
Sew Vertical Channels in the Blanket
On the marked lines, then, sew all the vertical channels. Start stitching at the bottom edge, right over a line of stitching that is nearly 2 inches from the inside topstitching. Ensure that you backstitch at both the beginning and end of the stitching.
In order to get the most out of stitching these lines, it’s best to begin sewing from the center and work outwards from there. It is easier to keep the sewing on course and the cloth from bunching if you work in this manner.
Fill a Vertical Channel With Weighted Stuffing Beads
Fill a vertical channel with a measured scoop of filler beads. Always keep in mind that the scoop’s weight should be adjusted according to the number of squares in the channel.
Beads should be shaken to provide an even distribution along the tube. Depending on the cloth, some beads may become stuck in the channels, but don’t worry about it too much.
Sew Horizontally Across the Filled Channel
To prevent the filler beads from touching the marked horizontal line for your squares, create a line using pins. You don’t want to break your needle by sewing over one of the beads.
Sew along the drawn horizontal axis. Begin about 2 inches from the inner topstitching, just over the stitching line. Be sure to backstitch at both the beginning and end of your stitching, and to finish just over the inner topstitching on the other.
Support the blanket’s weight while sewing to prevent your threads from being yanked out of place. Push any stray beads out of your path by feeling along the specified line. A bead may have gotten in the way of your sewing if you encounter any difficulties.
Finally, sew horizontally to finish closing off the row of filled squares and then add filler to a vertical channel.
Topstitch the Open End of the Blanket
Closing a row is a simple matter when you reach the end of a blanket. Ideally, this stitching should overlap slightly with the inner topstitching.
About a half-inch of the open side should be folded inward. Topstitch 1/4 inch from the edge, beginning and stopping where the previous topstitching finished on the sides.
Tip
When a job is completed, the topstitching is usually completed at the end of the process. However, due to the project’s weight, it’s much easier to complete the topstitching before adding the filler and then complete the top at the end.
Weighted Blanket Tips
- A patchwork weighted blanket can be made by sewing squares together instead of marking them on a huge piece of cloth. Sew the channels and rows of seams together.
- To keep the filler beads in place, sew with a short stitch length.
- To lessen the risk of your needle breaking, use a sturdy, thick needle, such as one developed for stitching denim.
- While sewing the rows, try not to tug or push the blanket. Sew the cloth through with ease, allowing the machine’s feed dogs to perform their job.
- Push your sewing machine into the sewing table’s edge if you can. As you sew, the weight of the blanket is supported by the additional table space.
- The most important thing to remember when sewing is to do so securely. Keep your fingers out of the way of the pins, look out for broken needles, and keep an eye on the needles.
Conclusion
To everyone’s relief, we now know that making a weighted blanket isn’t nearly as complicated as previously thought.
DIY weighted blankets are a terrific way to experience the many advantages of Deep Touch Pressure without breaking the budget in this Pinterest age of DIY projects. Make informed judgments about filler and fabric by shopping around. Invest on the best materials, then snuggle up with your new weighted blanket!
Source: https://bestpillowsleepers.com
Category: Sleep Advisors