With continued use, all air mattresses will deflate to some degree. It’s also possible that you have a hole in your air mattress if you find that it doesn’t inflate properly or loses a lot of air. Fortunately, repairing an air mattress is a simple task that can be done either using a patch kit or on your own.
It is necessary to detect and clean the leak in order to remedy the problem. Cover the leak with an adhesive and a few plastic or vinyl patches. You can check to see whether the mattress leaks again after letting the patch dry for a few hours.
You are reading: How To Fix A Leaky Air Mattress? Step-by-Step Tutorial
A leaky air mattress can be repaired with a few simple materials and methods.
How to Patch an Air Mattress?
In order to patch an air mattress, it simply requires a few simple procedures and some common household items. Once you’ve gathered everything you’ll need, proceed as follows:
Start by finding the aforementioned hole.
2. Thoroughly clean the area.
3. Fill in the gap.
Apply pressure and wait for the cure to occur.
Despite the fact that these actions appear basic, several of them are more difficult than first thought. A little hole in an air mattress, for example, can be difficult to locate. To properly patch the hole, you’ll need to be precise and patient. All in all, if you follow these procedures, you’ll be able to get back to sleeping on your air mattress again.
Materials and Tools You Will Need
- Dish Soap or Detergent: Cleaning the patched area and locating the leak are made easier with dish soap or detergent.
- You can use a sponge or a cleaning towel to clean the air mattress by dampening it. Helpful while searching for a hole.
- Using a single tissue or paper towel, you can see if air is escaping from a mattress.
- Many air mattresses come with a manufacturer’s patch kit. Patches that match the material of your air mattress are usually included with these kits.
- Patch Kits can be purchased online or at brick-and-mortar merchants if your air mattress did not come with one, or you are unable to locate one. The materials in these kits are the same as those found in the original manufacturer’s kit. When purchasing a kit of air mattress patches, you may want to look for ones that match the material and color of your mattress.
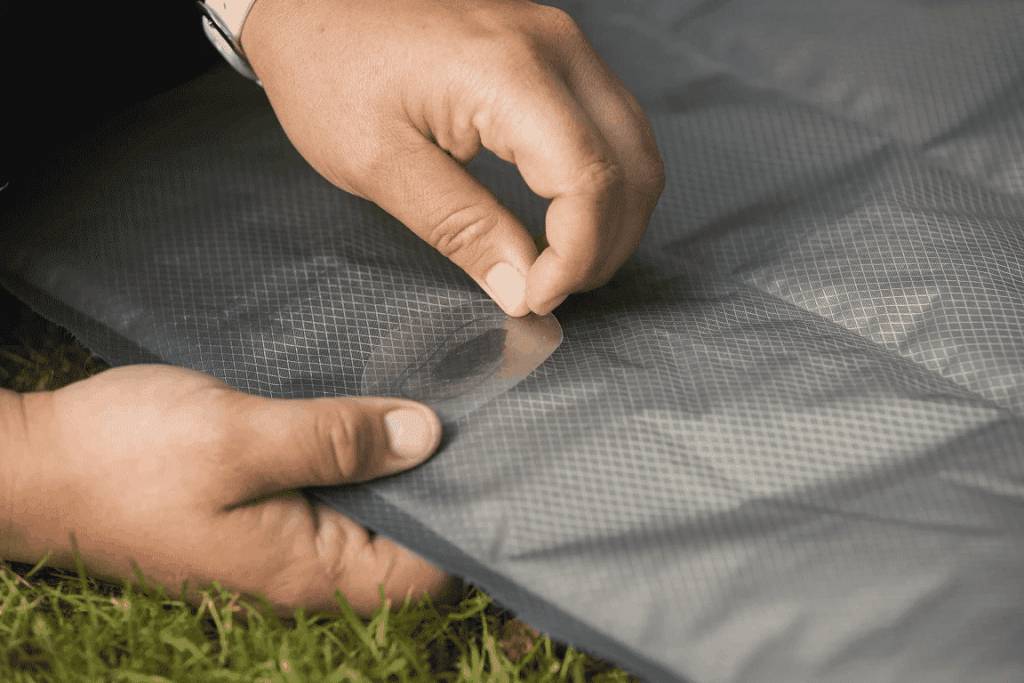
- In the absence of a kit, you will need to make your own patch out of thin plastic. You don’t need much more than a shower curtain liner or other sturdy plastic.
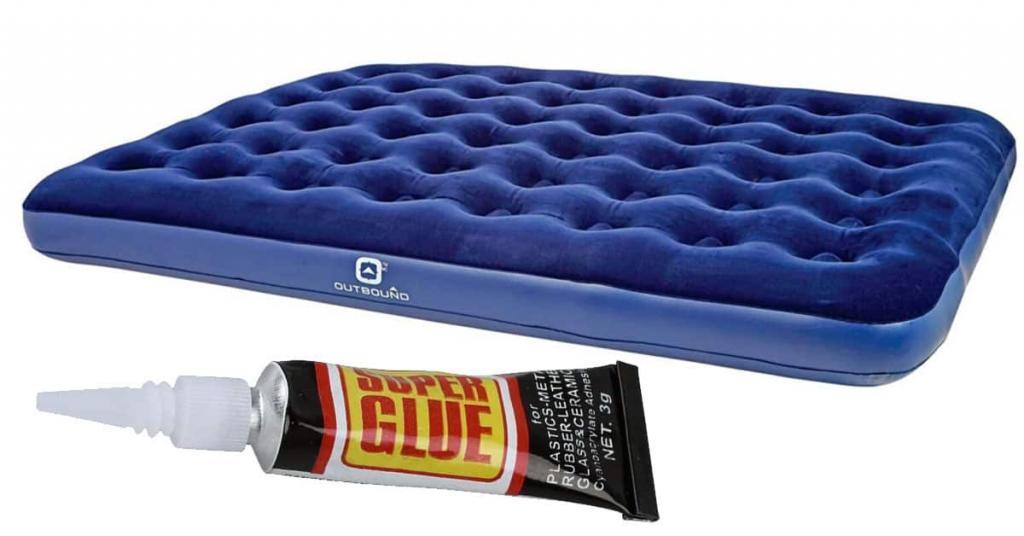
- If you’re not using a patch kit, you’ll also need glue. Make sure to use a strong adhesive, such as one designed for plastic or one that dries airtight.
- In order to provide the patch time to cure and attach, place a flat, heavy object on the mattress after applying the patch Consider using a book or a box stuffed with heavy goods as an alternative.
How to Fix a Hole in an Air Mattress?
Step One: Locate the Hole
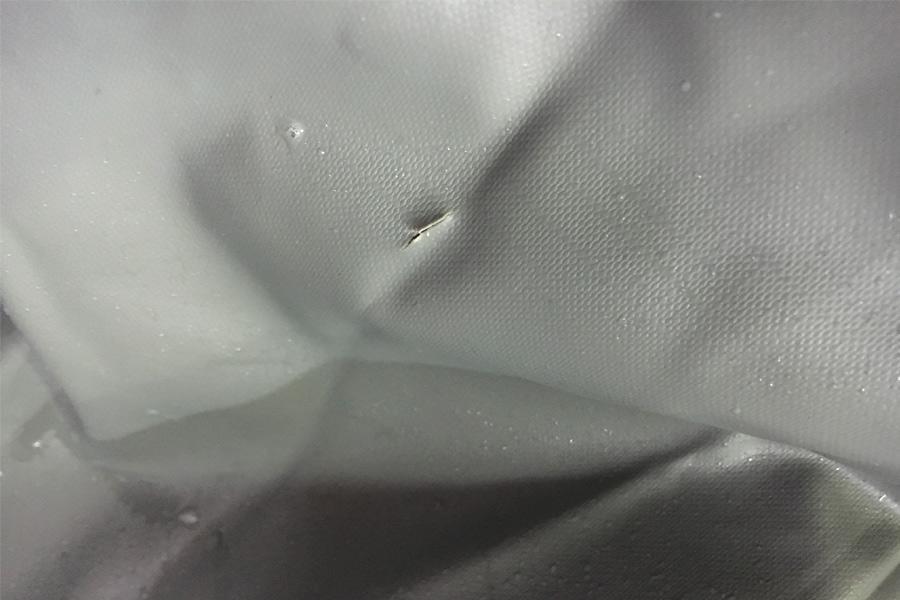
Detecting an air mattress leak can be simple, but finding the hole can be a challenge. You can take a few steps to find the leak.
Inflate the mattress first by laying it out on the ground. Inflate it and inspect it for any damage, if any, before using it. Place your palm over the affected region and feel for escaping air if you notice any scuffs or tears. Seams and air intake regions should also be checked for holes, as these are prevalent locations.
If there aren’t any obvious problems, try running your palm over the mattress’ surface to feel for any air leaks. Place your ear against a flat surface on top of the mattress. Listen for a leaking air supply.
Using a single piece of paper towel or tissue, the third way can be used. Place the tissue on the air mattress, starting at one corner. To achieve this, gently press down on the mattress to send the air toward that spot. Using this technique, move the tissue around the mattress and blow air on it as you go. When the tissue starts to rise in the air, you can be sure there is an air leak nearby.
Read more : What is Bruxism? 3 Tips For Coping With Bruxism Or Teeth Grinding
Finally, you may want to use soapy water. Using a damp sponge or towel and a mild cleanser is all that is required for this task. Cleanser should be applied to a sponge with some friction until bubbles form. Wipe the sponge over a section of the mattress, press down, then blow air into the area you just wiped. You’ll know you’ve discovered the hole if you notice bubbles forming.
Step Two: Clean the Surface
The surface should be cleaned before applying the patch and glue. Using a wet cloth, dampen the area around the leak. Then, using a soft cloth and a mild cleanser such as dish soap or detergent, gently scrub the surface.
Remove soap residue from the mattress by rinsing and scrubbing the cloth. Before attempting to patch the hole, let the surface to air dry fully.
Step Three: Patch the Hole
To patch up a hole, follow the manufacturer’s or third-party patch kit’s instructions.
The mattress should be deflated first if the leak is to be fixed with household items. It should be placed on a flat surface with the hole facing outward. Make a little patch out of the plastic. A good rule of thumb is that the patch should be at least half an inch larger than the hole it will be covering.
Around the patch’s outer perimeter, apply adhesive in a layer. Place the patch over the hole in the air mattress and press firmly. A new hole could occur the following time you inflate the mattress if adhesive leaks through the hole and seeps into the bottom layer of the mattress.
Step Four: Apply Pressure and Allow to Cure
Applying pressure and allowing the patch to set are essential to ensuring that the patch is secure. The patched area should be supported by a flat, heavy object like a book or box. This prevents the patch from slipping and ensures that the adhesive adheres to the surface completely.. Be careful not to have any extra glue around the patch’s edges that could cause the mattress to cling to the heavier object.
Remove the heavy object and examine the patch after 8 hours of curing your air mattress in this manner.
Step Five: Test Seal
Before moving on, it is important to make sure that everything is in order. This will prevent the air mattress from collapsing the next time you use it because the leak has been corrected.
The mattress should be inflated to its maximum capacity. The patch should be placed on the ground and the air should be directed towards it. Find any escaping air by touching or listening. After a few minutes of lying on the mattress, check to see if the seal is loosening. This means that if the mattress does not appear to be leaking air, the hole has been repaired.
Make an effort to remove the patch and then repeat Steps 2 through 5 if you notice any air escaping. There could be another hole in the mattress if the repair is still leaking air. To find and fix the second leak, begin from the beginning.
How to Fix a Leaky Air Mattress: Step by Step
1. Confirm the leak
First, you’ll need to determine if there is a leak in order to begin the repair process. It’s inevitable that air mattresses will deflate with time, but it can be hastened by factors like temperature fluctuations.
Before you begin searching for the leak, fill your air mattress to its full capacity. For a few minutes, sleep on it and observe if it deflates. You need to move on to step two if it loses a significant amount of air, which indicates a hole or rip.
2. Locate the source
Read more : What Is the Relationship Between Sleep Deprivation and Workplace Accidents? Ultimate Guide
A little rip or hole in the vinyl of an air mattress is frequently the source of an air mattress leak. A broken gasket might also be the cause of a leak in some situations. It doesn’t matter if you’ve found the source or not.
The presence of rips and tears is usually easy to spot. There are a few techniques you can use to fill up smaller holes. Set up your mattress upright against a wall so that the bottom is facing you and the air is flowing freely through it. Look for any signs of deterioration on the surface. Check the seams for minor cracks, which are common. Listen for the sound of leaking air by gently pressing on the mattress.
If that doesn’t work, the next place to look is in the kitchen. Sponge a small amount of dish soap on it, then squeeze out as much water as possible before rinsing. The sponge should be rubbed over the entire surface of the air mattress, keeping an eye out for bubbles. Larger bubbles indicate that the leak is originating from a specific location.
3. Clean & mark the leaky area
Once you’ve discovered where the leak is coming from, it’s time to do some serious cleanup. Let it air dry thoroughly before using. Make a gentle circle around the leak’s location using a marker to help you keep track of it.
It’s important to have a smooth surface in order to get a patch to stick. This can be done by using fine or very-finesandpaper to carefully sand down the surface of the air mattress.
4. Patch the leak
Once the affected area has been thoroughly cleaned and dried, the leak can be patched. The following are a few options, in descending order of efficacy:
- Using the air mattress repair kit that came with it
- Air mattress patch kits can be purchased online from third parties.
- repairing a flat tire on a bicycle
- The patch can be created from a thin plastic material, like a shower curtain.
If you’re going to use a patch kit, simply follow the directions that came with it. It is possible that you will have to improvise while making a patch on your own, depending on the material you choose and the extent and severity of the leak.
Applying a patch to a leaking air mattress can be done as follows:
- Deflate the air mattress to its bare minimum and then secure it with tape.
- Clean and dry the place where the spill occurred.
- Use a flat surface and full exposure to locate the leaky spot of the mattress.
- Ensure that the patch covers the leak on all sides by applying it to the affected area.
- Bandage-style patches can be applied directly over a leaky region if the patch is self-adhesive.
- The perimeter of a simple patch will need to be glued or adhered to with a strong glue or adhesive prior to application.
- To prevent the patch’s edges from curling up after application, place a hefty, flat object on top of them.
- Allow at least 8 hours for the patch to dry.
- Test any leaks while you carefully inflate the mattress.
You should be able to effectively patch your air mattress if you follow these procedures. Remember to inspect the patch often to make sure it isn’t peeling off after it has been mended. If the patch seal weakens and begins leaking again, you may need to repeat the procedure.
Frequently Asked Questions
How do you find a leak in an air mattress?
The best technique to find a leak in a mattress is to put a soapy sponge to its surface. Keep an eye out for any spots where bubbles start to form and grow, as this could indicate a possible leak. It’s also possible to completely deflate the mattress before listening for escaping air. You can also submerge the mattress in water to look for releasing bubbles, however this is impractical if you have a really large mattress..
How do you fix an air mattress without a patch?
Make your own patch if you don’t have one. Plastic shower curtain liners are the perfect material for this purpose. Be sure to leave at least a half-inch of patch material on all sides of the hole when you cut the patch to fit. Apply an adhesive to the patch’s perimeter and allow it to dry. A patch can be applied to a deflated air mattress after it has been thoroughly cleaned and dried.
How do you fix a leaky gasket or seal?
To fix an air mattress leak, you may need to remove the gasket. If you have the mattress’s owner’s handbook or can find one online, try to see if there is a repair for the problem. Leaky gaskets frequently necessitate a total gasket replacement.
How do you fix a leaky seam?
It is unlikely that a patching strategy will work if your leak is originating from a seam. As an alternative, you can use a hot glue gun or a strong glue to fill in any gaps that may be present. The surrounding material can be folded in on itself and glued together if the tear is significant. The metal tip of a hot glue gun can melt the surface of an air mattress if used incorrectly.
Vote for this post!
Source: https://bestpillowsleepers.com
Category: Sleep Advisors